Cool Background Pictures to Draw
Do yous ever draw illustrations with backgrounds?
This commodity is for people who detect drawing backgrounds and landscapes difficult. I'd like to prove you lot some piece of cake patterns for drawing backgrounds using shape tools, etc!
If you are clicked on this article, then I'chiliad sure you are looking for ways to better your backgrounds.
So, I'd similar to introduce some background patterns that suit your needs.
i. What colors should I utilise?
When you come across a white background, it still makes you unclear on what you lot want to describe or what colors to utilise.
For those who are truly lost, I recommend the color"grayness" and a "rectangle".
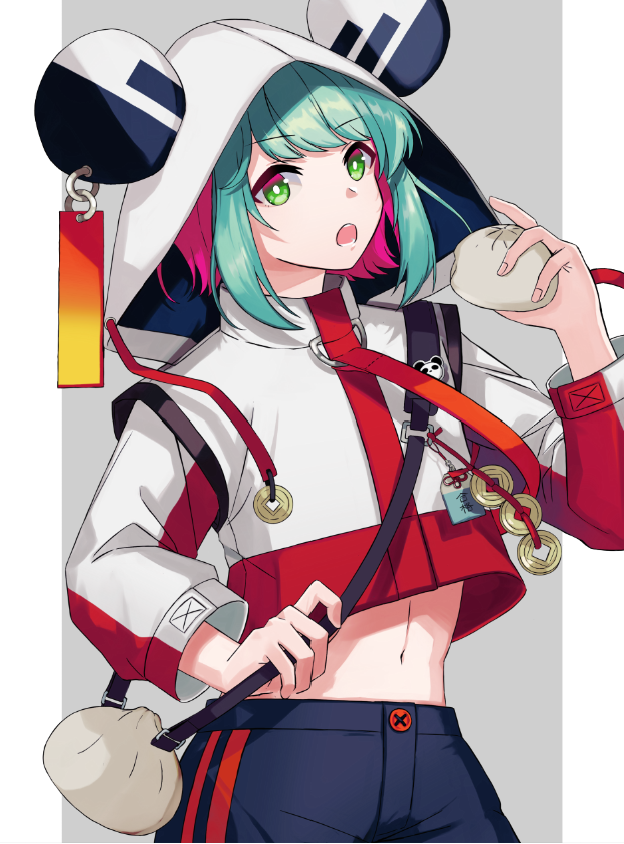
It makes a perfect groundwork for illustrations with a stylish image.
Let's take a look at how to exercise it.
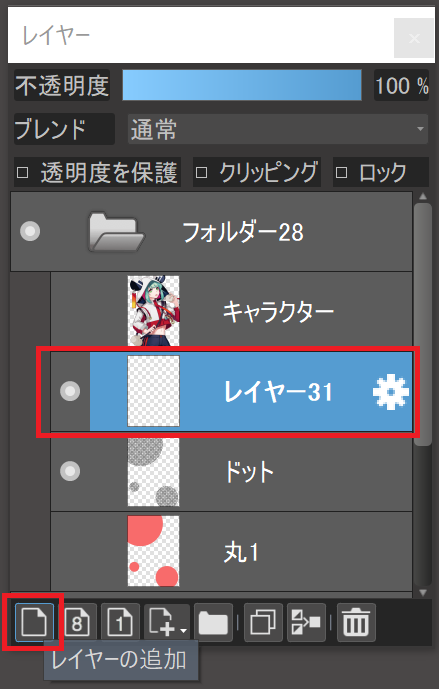
Create a new layer under the graphic symbol layer.
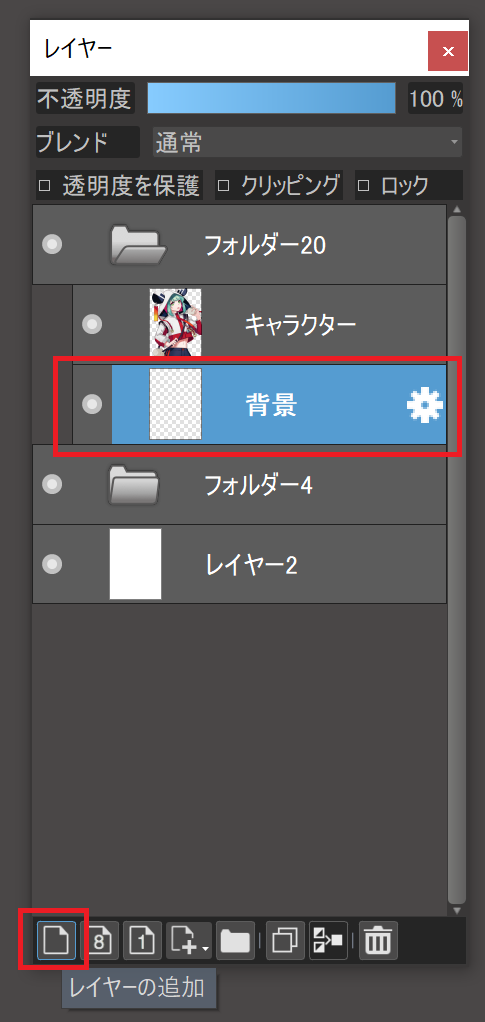
Select a suitable grey color from the color palette and select the Fill tool.

Select the brusk form

Drag the cursor to identify a large rectangle on the screen so that it extends across the sheet.


This is not symmetrical, so we want to move the rectangle to the eye.
Select Motility from the Layers tab and choose "Eye".
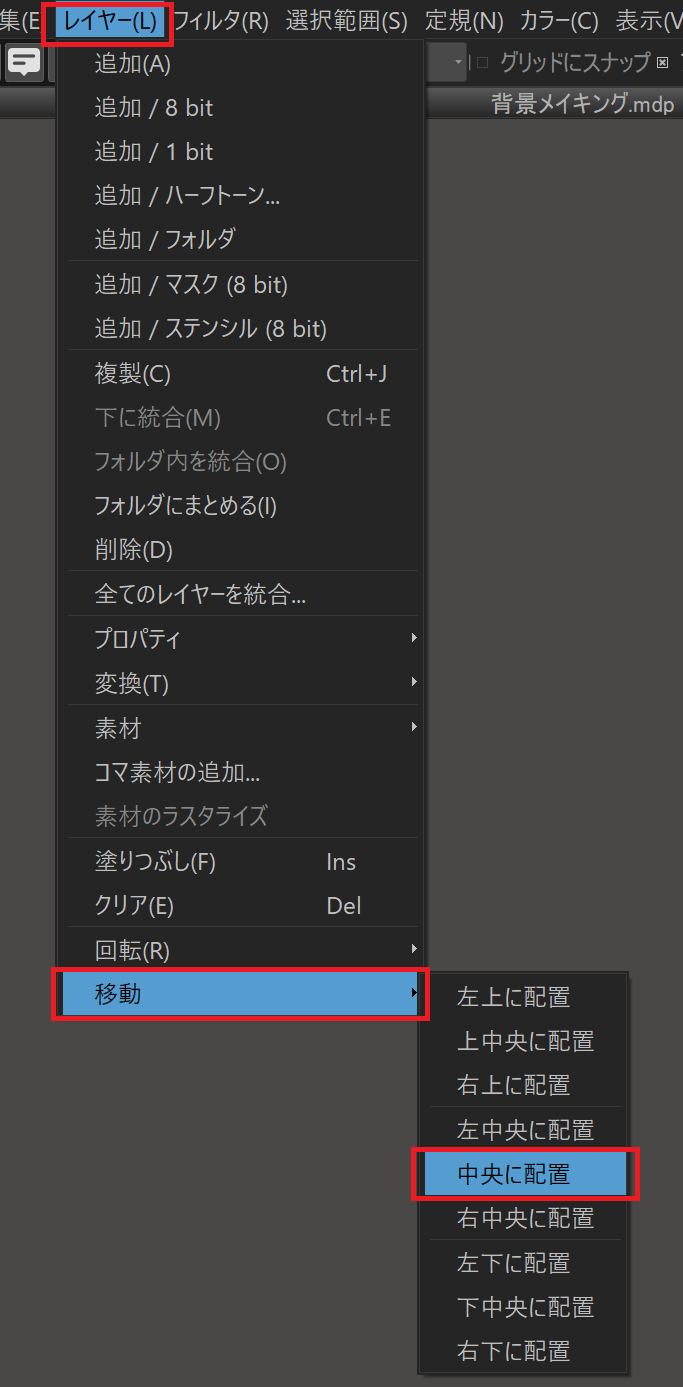
The rectangle has been placed in the eye.

Now I would like to explain the key points of how to choose your best gray colors.
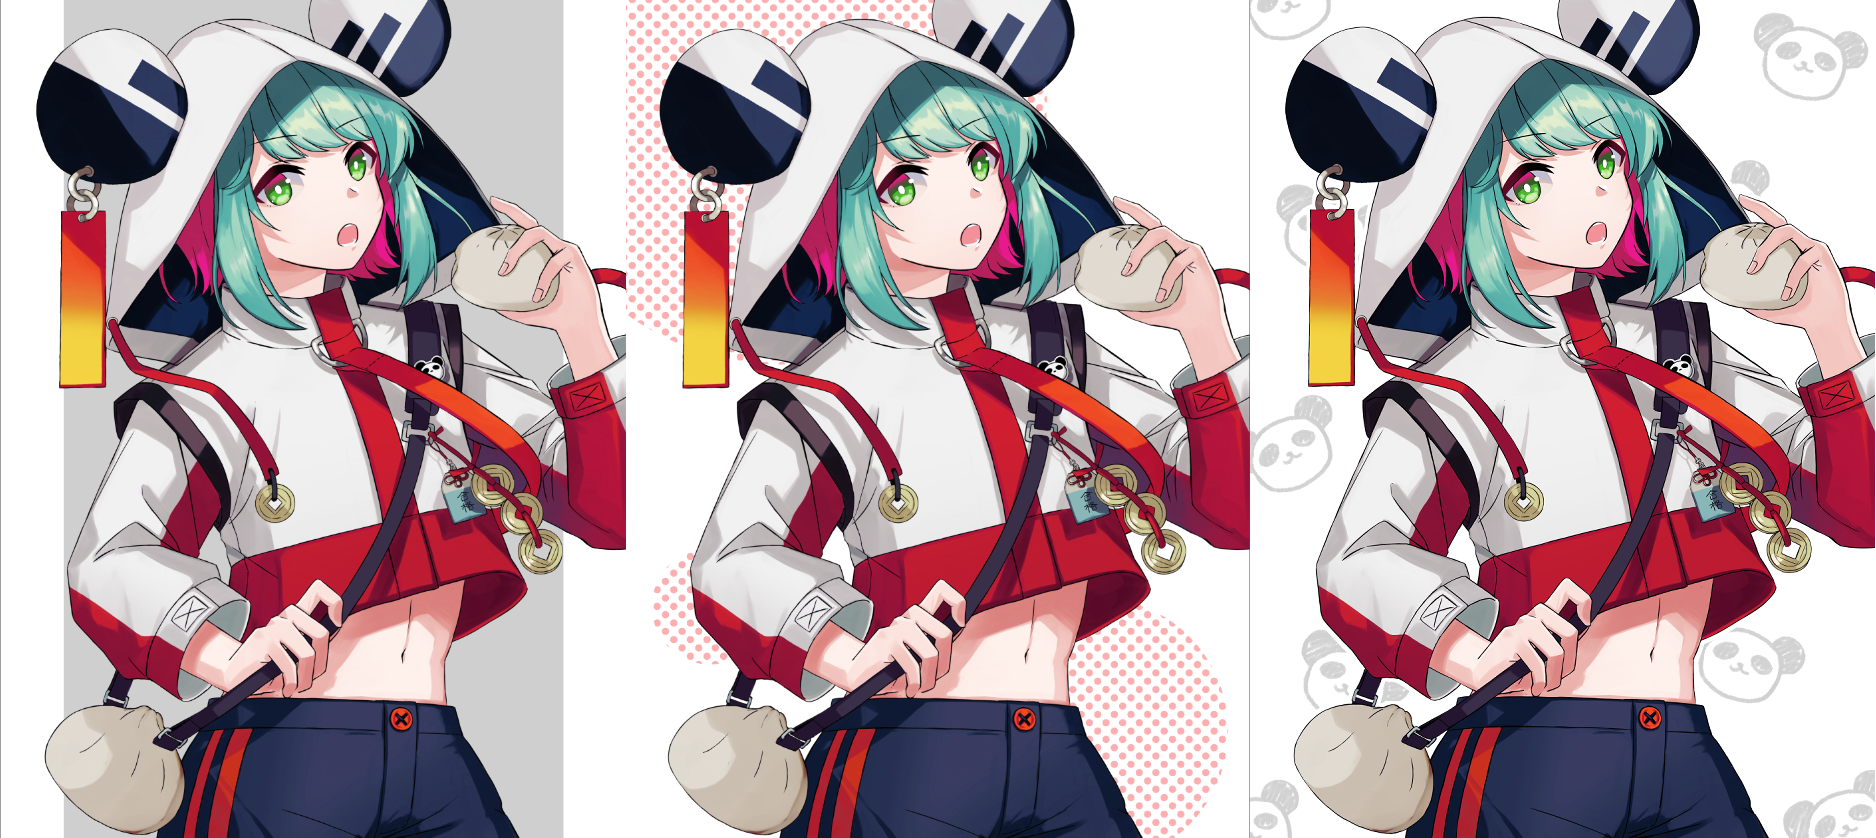
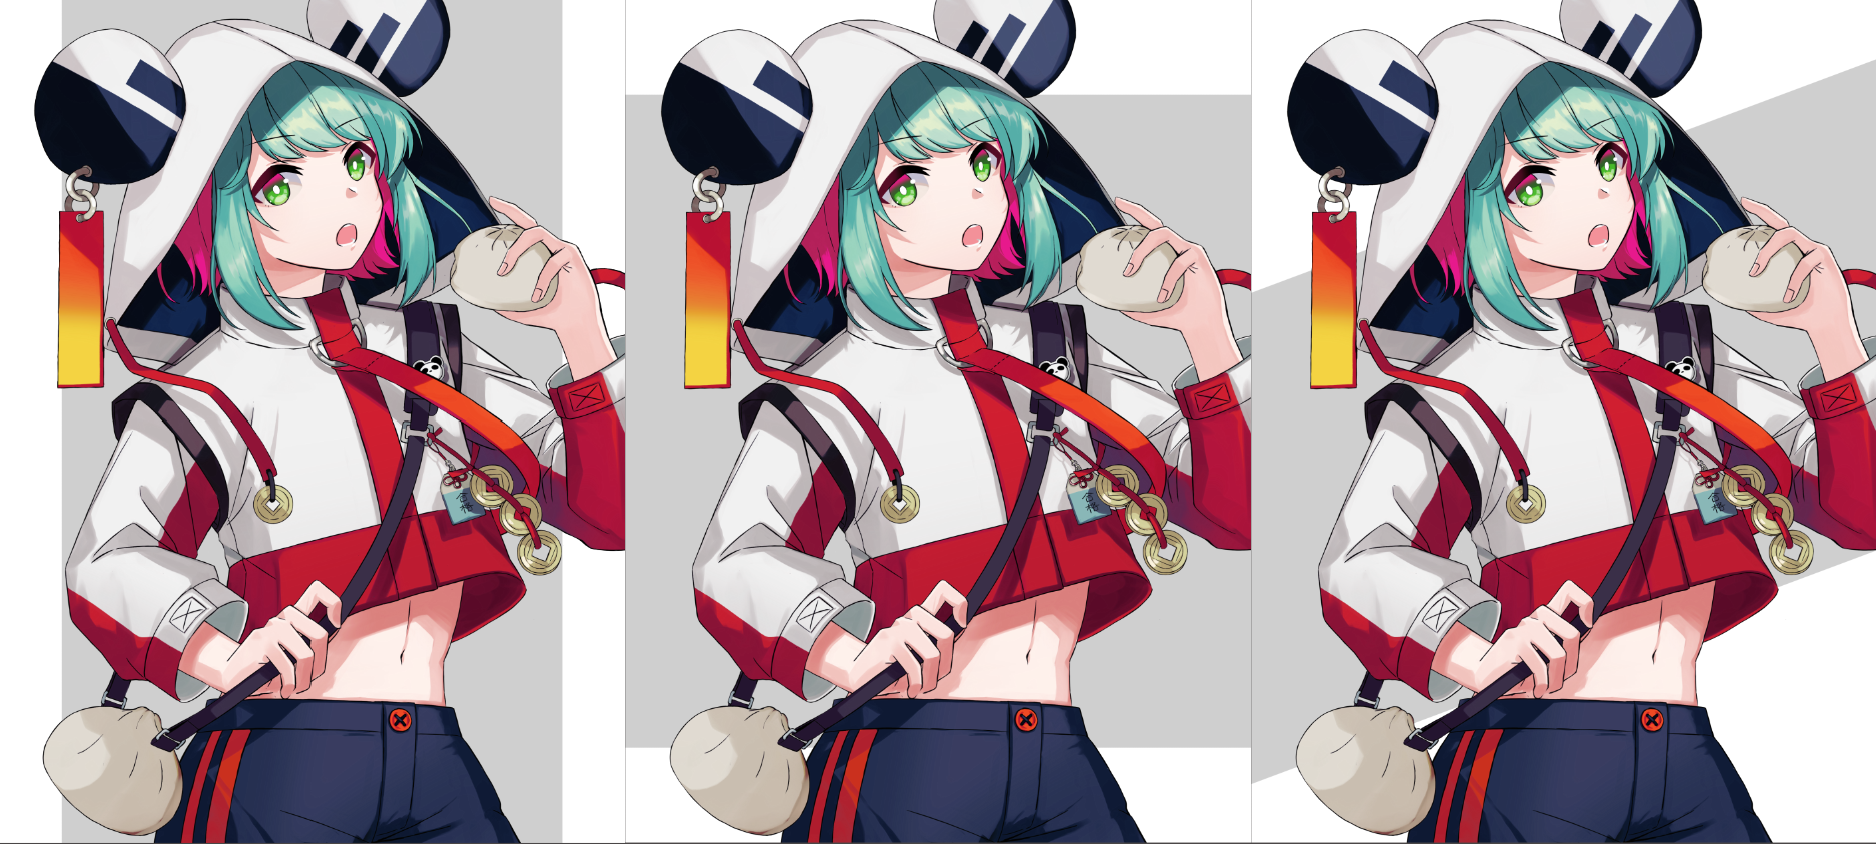
Here is an illustration with 2 patterns of gray background.

Hither is a version that reduces the colour saturation of the characters.

you can see past comparison the ii above, that the background saturation on the right is too strong.
If the background is low-cal gray, it will not interfere with the presence of the characters.
In addition to vertical rectangles, you can likewise use horizontal rectangles or rectangles placed diagonally.
two. Use polygons and shapes outside of rectangles
A simple rectangle with a gray color might be a bit too simple for a character with a sense of energy like this 1.
The next step is to create the groundwork using the shape tools "Ellipse" and "Tile".

Select the Fill tool, then select Ellipse from the Shape tool.

Check the Fixed aspect ratio checkbox.

Hide the character once and decide the size of the circle.
Once you lot take determined the guess size, decide where to place the circles.
Here, I placed three circles.

This time, nosotros want to make this circumvolve a dotted circle.
Create a new layer for placing the dots on elevation of the circle layer we merely placed.

Select a dot of the desired size from the tiles.
In this case, we used MT000030-350 Ami 10L30%.
Choose to stick it on the campus.
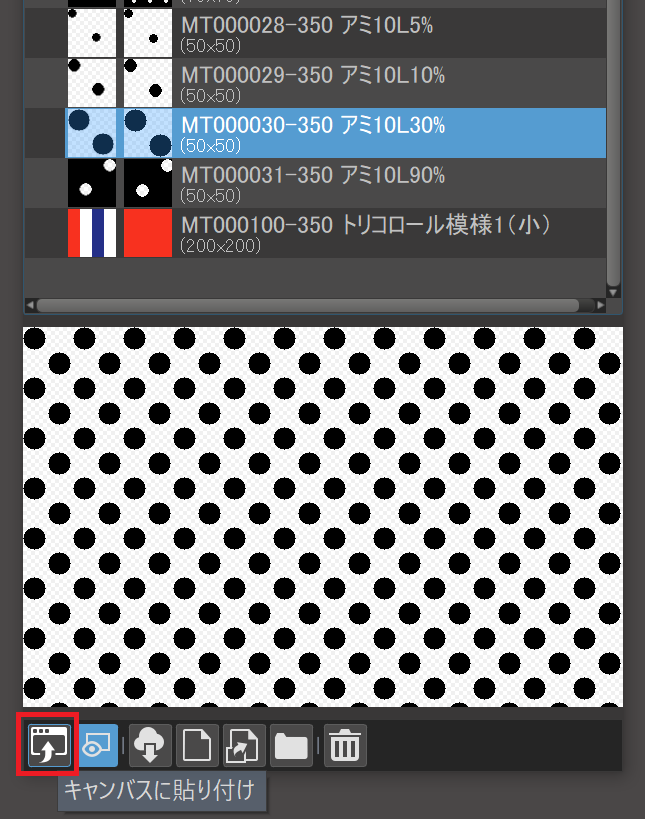
The background has become dotted

Select the circumvolve layer, and from the Selections tab, choose "Create from Layer/Opacity".

This will select the "circle" office of the image. (For clarity, the dot layer has been removed.

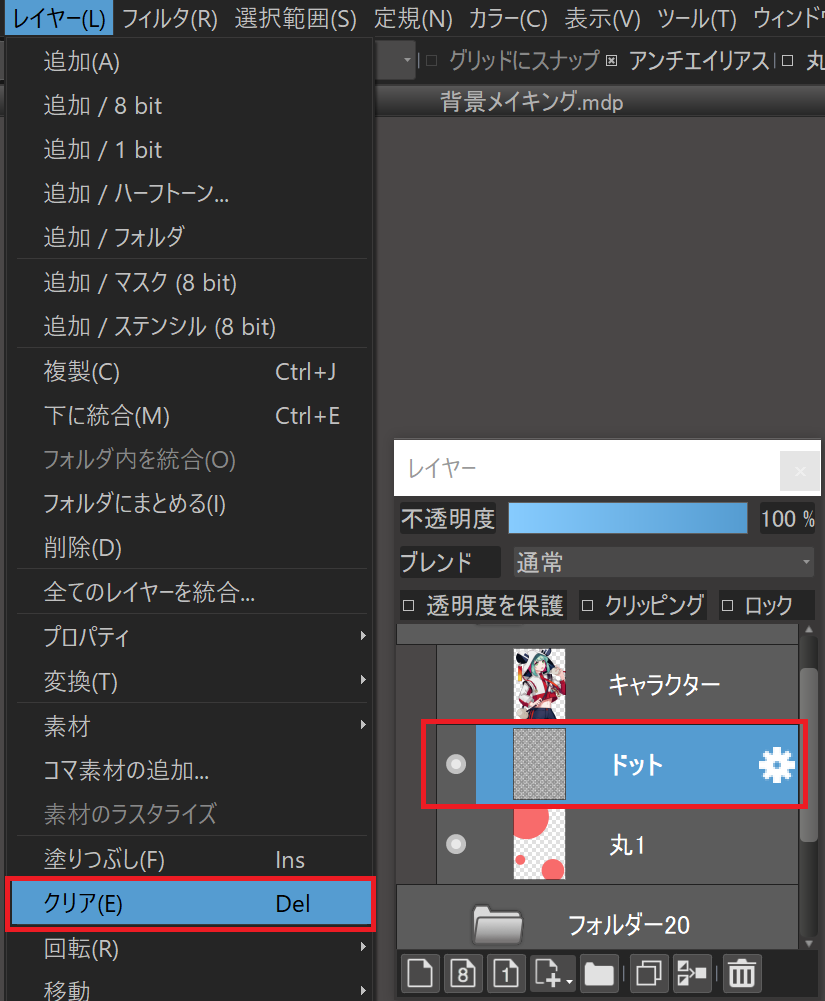
This time, we desire to select the "non-circumvolve range" and cut out the dots in the unwanted range, and then select "Invert" from the Select Range tab and select the non-circumvolve range.

Select the dot layer where you desire to cutting out the circumvolve, and choose "Clear" from the Layers tab.
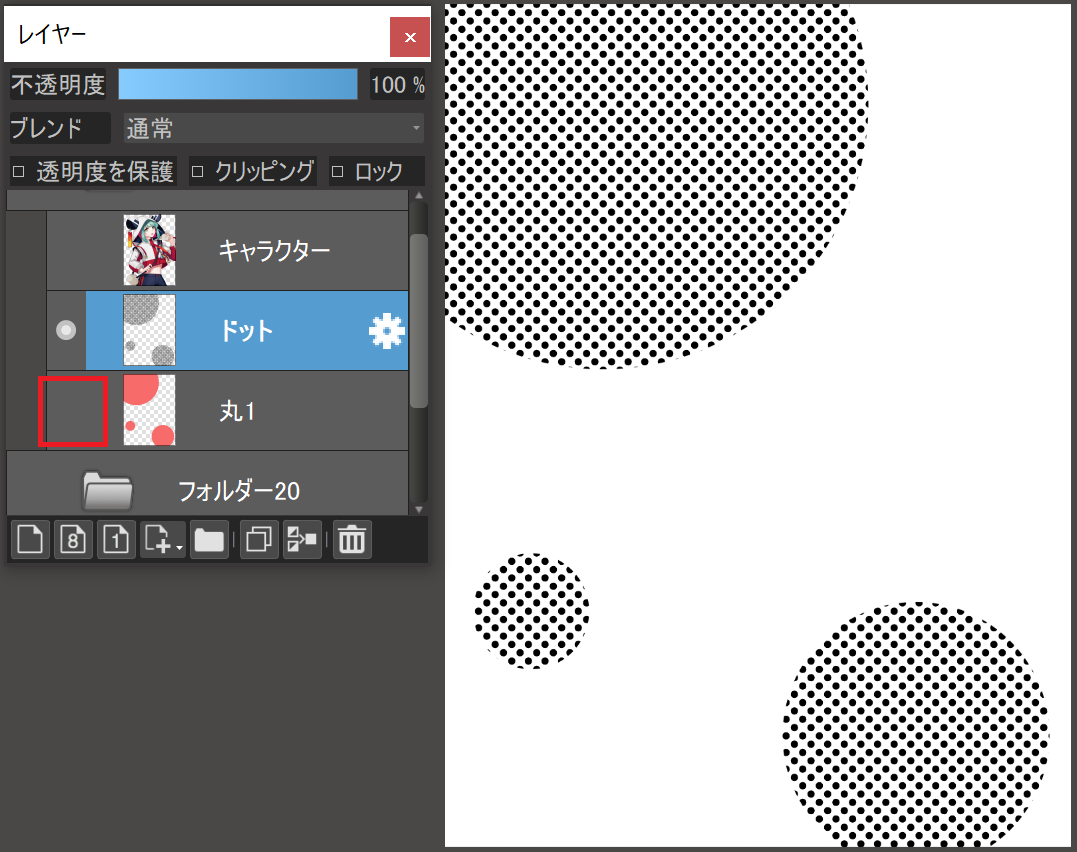
The background of the dotted circle is now complete.
If yous hide the basic circle, the dotted circle is complete.
Change the color of the dots.
Create a new layer on top of the dot layer.
Select the colour you want for the background, fill up the campus, and check the Clipping box.

And it's consummate!

This can be applied to more than just ovals, so try it with any shape you lot like.
3. Extra
I introduced how to depict backgrounds using various tools, but I remember some of you may observe those difficult.
For those who do, I recommend "hand-fatigued illustrations".

The image of the character I drew this fourth dimension was "panda", then I will draw a panda.

As y'all copy and paste, change the angle and identify it accordingly.
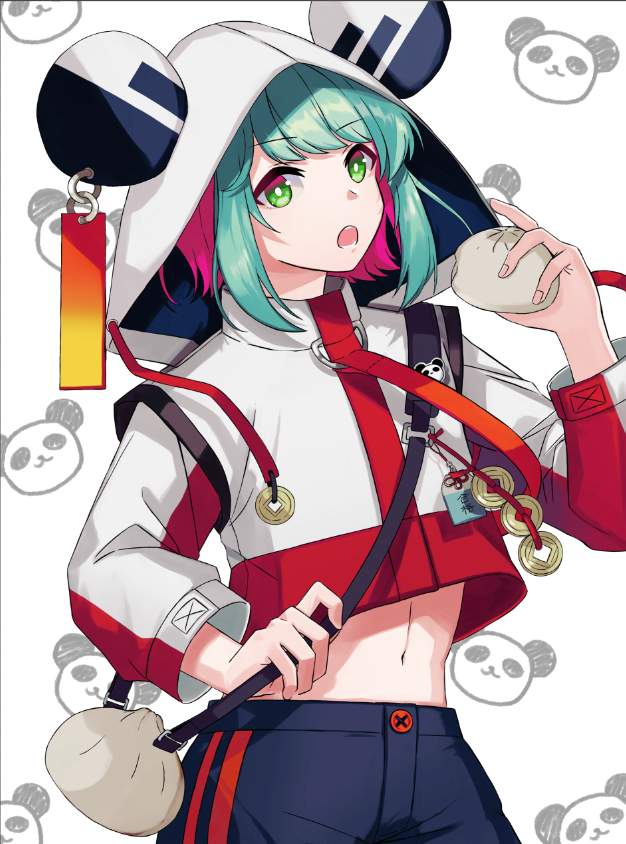
Don't put them in the same place vertically.
Don't put nearby objects at the same angle.
If you can be aware of the following, I recall it will make a adept pattern.
The panda line between the character and the background was bothering me, so I would like to add together a white edge around the grapheme.

Create a new layer for the white border under the character layer.

Select a range of characters, and later selecting them, select "Expand".


Subsequently that, type in the number of pixels you want to expand.

Here, I extended it by 10 pixels.
You can at present select the range of the white edge.

Select the previously created layer for the edge, choose white from the color circle, and select Fill up from the Layer tab.
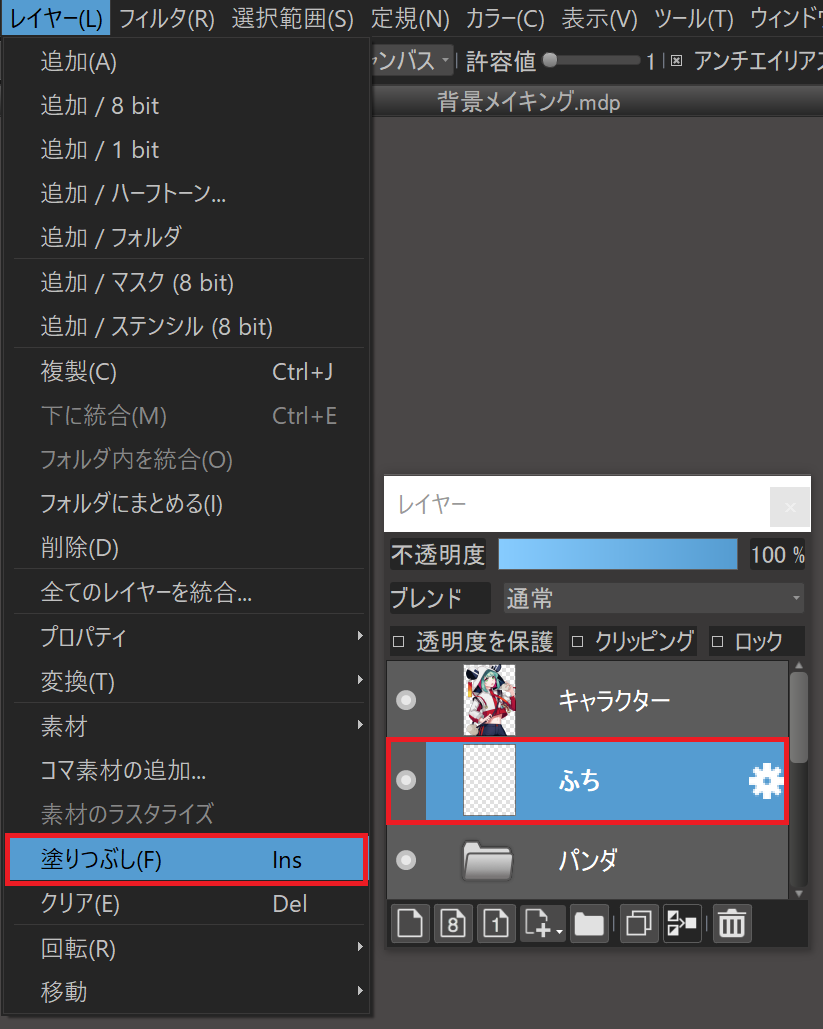
The white ruffles are set.


4. Conclusion
What did yous recollect?
I hope it will make you feel less afraid of drawing backgrounds.
And I hope you lot will challenge at illustrating variety of backgrounds.
(Text and pictures by Mido Hachino)
Twitter / https://twitter.com/hachino_mido
Pixiv / https://world wide web.pixiv.net/users/20266737
Source: https://medibangpaint.com/en/use/2021/10/how-to-paint-backgrounds/
0 Response to "Cool Background Pictures to Draw"
Post a Comment